Introduction
Laravel is a powerful PHP framework well-suited for building scalable and feature-rich web applications — including custom Content Management Systems (CMS). With its expressive syntax, robust MVC structure, and built-in tools, Laravel makes CMS development intuitive and secure.
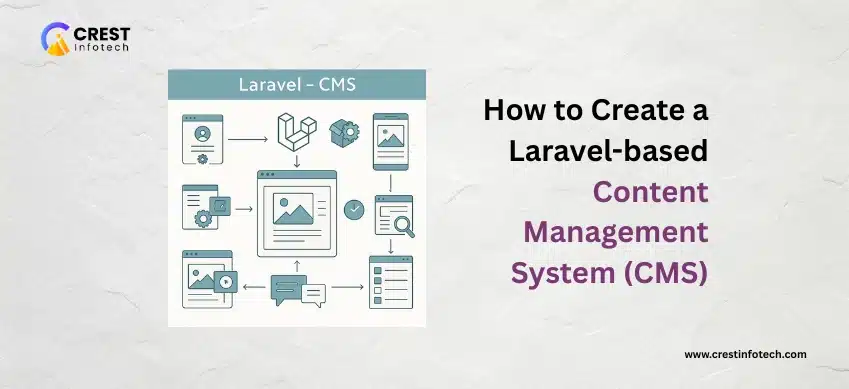
In this article, we’ll walk through how to create a Laravel-based CMS, covering essential components such as authentication, content models, admin panels, and more.
🧩 Why Use Laravel for a CMS?
- Modular structure: Easy to organize features and functionality.
- Built-in authentication: Secure and fast setup.
- Eloquent ORM: Simplifies database operations.
- Blade templates: Clean and maintainable views.
1. Set Up Laravel Project
✅ Create a new Laravel app:
composer create-project laravel/laravel cms-project✅ Configure .env:
DB_DATABASE=cms
DB_USERNAME=root
DB_PASSWORD=your_password
Then run:
php artisan migrate2. Implement User Authentication
✅ Use Laravel Breeze or Jetstream:
composer require laravel/breeze
php artisan breeze:install
npm install && npm run dev
php artisan migrate
This provides registration, login, password reset, and session handling.
3. Create Content Models and Migrations
✅ Create a “Post” model:
php artisan make:model Post -m✅ In the migration file:
$table->string('title');
$table->text('body');
$table->string('slug')->unique();
$table->boolean('published')->default(false);
Run:
php artisan migrate4. Build the Admin Panel
✅ Generate controller and views:
php artisan make:controller Admin/PostController --resource✅ Example routes (in web.php):
Route::middleware(['auth'])->prefix('admin')->name('admin.')->group(function () {
  Route::resource('posts', Admin\PostController::class);
});
Use Blade views like admin/posts/index.blade.php for listing and editing content.
5. Create Public Routes and Frontend
✅ Define routes for public content:
Route::get('/', [PostController::class, 'index']);
Route::get('/{slug}', [PostController::class, 'show']);
✅ Example display logic:
public function index() {
  $posts = Post::where('published', true)->latest()->get();
  return view('posts.index', compact('posts'));
}
6. Add Rich Text Editor for Admin Panel
✅ Integrate editors like TinyMCE or CKEditor:
<script src="https://cdn.tiny.cloud/1/no-api-key/tinymce/6/tinymce.min.js"></script>
<script>
  tinymce.init({ selector:'textarea#body' });
</script>
7. Add Media Uploads
✅ Update migration to support image upload:
$table->string('featured_image')->nullable();✅ Handle file upload in controller:
if ($request->hasFile('featured_image')) {
  $filename = $request->file('featured_image')->store('images');
  $post->featured_image = $filename;
}
8. Add Categories or Tags (Optional)
✅ Create Category model:
php artisan make:model Category -m✅ Define relationships:
// In Post.php
public function category() {
  return $this->belongsTo(Category::class);
}
9. Add Role-Based Access Control (RBAC)
✅ Use packages like spatie/laravel-permission:
composer require spatie/laravel-permission
php artisan vendor:publish --provider="Spatie\Permission\PermissionServiceProvider"
php artisan migrate
Assign roles like “admin”, “editor”, “viewer” for controlled access.
10. Deploy Your CMS
- Set up on a server or use services like Laravel Forge or Ploi.
- Configure environment variables and database.
- Run
php artisan config:cacheandphp artisan migrate --force.
🧠 Conclusion
Building a CMS with Laravel is a practical way to learn the framework and produce a fully customizable content platform. By leveraging Eloquent, Blade, built-in authentication, and Artisan, you can construct a fast, secure, and flexible CMS tailored to your project’s needs.
🔑 Key Takeaways:
- Use Laravel’s built-in tools to speed up CMS development.
- Structure content and user roles clearly for scalability.
- Add rich text editing, media uploads, and categories for real-world functionality.
With Laravel, you’re not just creating a CMS — you’re crafting a tailored experience. 🚀


