Introduction: The Need for Global Reach
In today’s digital landscape, your audience isn’t limited by geography or language. If your business, blog, or e-commerce store is growing, offering content in multiple languages is the single most effective way to unlock new markets, improve international SEO, and enhance user experience.
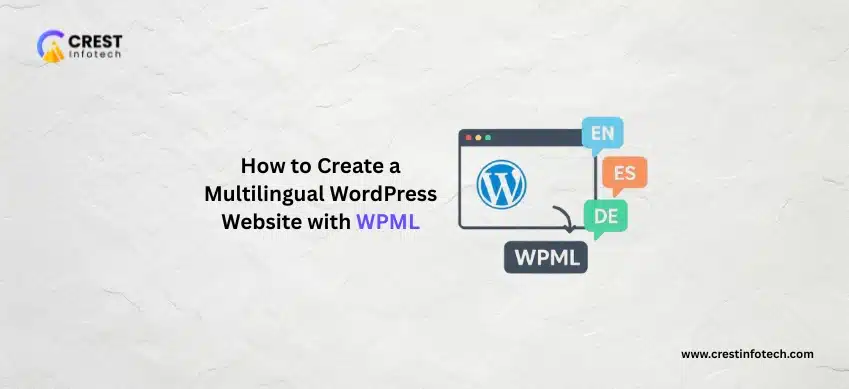
While there are several great solutions, the most robust and widely used plugin for creating a truly multilingual WordPress site is WPML (WordPress Multilingual Plugin).
Here is your complete, step-by-step guide to transforming your website from monolingual to a global content hub using WPML.
Step 1: Installation and Initial Setup
WPML is a premium plugin, so you will need to purchase a license (the Multilingual CMS plan is recommended for full functionality).
A. Install the Core Plugin
- Download: Log in to your WPML account and download the OTGS Installer (or the main WPML Multilingual CMS zip file).
- Upload & Activate: In your WordPress dashboard, go to Plugins > Add New > Upload Plugin, and install the file.
- Register: Follow the prompts to register your site using the site key provided in your WPML account. This step is crucial for receiving official updates.
B. Run the Setup Wizard
Upon activation, WPML will prompt you to run a setup wizard.
- Set Default Language: Select the language your existing content is currently written in (e.g., English).
- Add Secondary Languages: Choose the languages you want to translate your site into (e.g., Spanish, French). You can always add more later.
- URL Format: Decide how your language URLs will look:
- Directories (Recommended):
yoursite.com/es/ - Domains:
es.yoursite.comoryoursite.es - Parameters:
yoursite.com/?lang=es
- Directories (Recommended):
- Translation Method: Choose your preferred translation process (manual, translation manager, or automatic).
Step 2: Translating Your Core Content
Once the setup is complete, you can start translating your posts, pages, and custom post types. WPML offers two main translation workflows:
A. Manual or Editor Translation (Translate What You Choose)
- Go to Content: Navigate to Pages (or Posts) in your WordPress dashboard.
- Find the Flag: You will see a new column with flags next to each piece of content. Click the plus icon (+) or pencil icon next to the language you wish to translate.
- Use the Advanced Translation Editor: WPML will open the Advanced Translation Editor (ATE). This is a user-friendly, side-by-side interface where you enter the translated text for each paragraph and heading. It even includes features like a glossary and Translation Memory.
- Save and Publish: Mark the translation as complete and save it.
B. Automatic Translation (Translate Everything Automatically)
If you have a large site and credits for automatic translation, you can set WPML to auto-translate everything (or just new content) using AI services like DeepL or Google Translate. A manual review is highly recommended for automatic translations to ensure accuracy and contextual relevance.
Step 3: Translating “Strings” and Structural Elements
Not all text is stored in posts and pages. WPML uses the String Translation add-on to translate the structural text of your site.
What are Strings?
Strings are all the other texts on your site that come from your theme, plugins, and WordPress core, such as:
- The text in your footer (e.g., “Copyright 2024”)
- Widget titles (e.g., “Recent Posts”)
- Form button labels (e.g., “Send Message”)
- The site tagline
- Theme options/settings
How to Translate Strings:
- Install Add-on: Ensure the WPML String Translation add-on is installed and active.
- Go to Strings: Navigate to WPML > String Translation.
- Find the Text: Use the search bar or filters to locate the string you need to translate (e.g., search for “Copyright”).
- Translate: Click the plus icon for the target language, enter the translation, and press Enter.
Step 4: Translating Menus and Taxonomies
To provide a fully navigable experience, your menu and categories/tags must also be translated.
A. Navigation Menus
- Go to Menu Sync: Navigate to WPML > WP Menus Sync.
- Synchronize: The tool will automatically compare your default language menu with the target language menus and show you which items need to be copied or translated. Click “Synchronize” to create the secondary language menu structure.
- Edit: Go to Appearance > Menus and select the translated menu to adjust any specific labels that were not part of your Page content.
B. Categories and Tags (Taxonomies)
- Go to Taxonomy Translation: Navigate to WPML > Taxonomy Translation.
- Select Taxonomy: Choose the taxonomy you want to translate (e.g., ‘Categories’ or a custom one like ‘Product Categories’).
- Translate Terms: Click the plus icon (+) or pencil icon next to each term (category/tag) to enter its translation and translated URL slug.
Step 5: Adding the Language Switcher
Finally, you need to give your visitors an easy way to switch between languages.
- Go to Languages: Navigate to WPML > Languages.
- Configure Switchers: Here you can customize and enable a language switcher in various locations:
- Menu Switcher: Add flags/names directly to your main navigation menu.
- Widget Switcher: Add a switcher to your sidebar or footer.
- Footer/Custom Location: Add a floating or custom switcher using a shortcode or PHP code.
- Customize: Choose whether to display the language names, native names, and/or flags, and adjust the styling to match your theme.
Conclusion
Creating a multilingual site is more than just translating text; it’s about providing a consistent, organized, and culturally relevant experience. WPML makes this complex process manageable, ensuring your site’s content, structure, and SEO are all optimized for a global audience.
By following these steps, you can confidently open your digital doors to the world. ¡Buena suerte! (Good luck!)