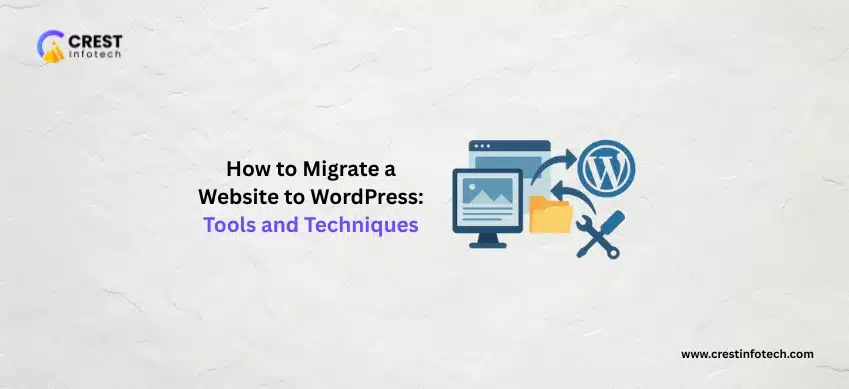
Migrating your existing website to WordPress is one of the smartest moves you can make. Whether you’re moving from Wix, Squarespace, Joomla, or a custom HTML site, WordPress offers more flexibility, scalability, and control over your content.
But migration isn’t just copy-pasting content. A smooth, successful move requires the right strategy, tools, and attention to detail.
Ready to make the switch? Here’s your complete step-by-step guide to migrating a website to WordPress using proven tools and techniques.
Step 1: Prepare for the Migration
Before touching anything, you need a solid migration plan. Preparation prevents downtime, data loss, and SEO issues.
- Backup Your Existing Website: Create a full backup of your current site (files + database). If you’re using a CMS like Joomla or Drupal, use their native backup tools or export features.
- Document URL Structure: Record all existing URLs—this helps maintain SEO and create accurate redirects later.
- Analyze Current Site: Identify what content you’ll migrate (pages, posts, images, users) and what can be left behind or updated.
- Choose a WordPress Hosting Provider: Opt for a reliable, performance-focused host. Managed WordPress hosts like WP Engine, SiteGround, or Kinsta can save hours of setup and optimization.
Step 2: Set Up a Fresh WordPress Installation
Once your hosting is ready, you’ll install WordPress as the foundation for your new site.
- Install WordPress: Most hosting providers offer one-click WordPress installation through their dashboard.
- Secure Your Site: Install an SSL certificate (most hosts provide free SSL via Let’s Encrypt). Your site URL should start with
https://. - Configure Basic Settings: Update your Site Title, Timezone, and Permalink structure under Settings → Permalinks. Choose a SEO-friendly format like
/post-name/.
Step 3: Choose a WordPress Theme
A good theme ensures your migrated site looks modern, fast, and responsive.
- Start with a Lightweight Theme: Themes like Astra, GeneratePress, or Blocksy are great for performance and flexibility.
- Match Your Old Design (Optional): If you want to replicate your existing site’s look, use a page builder like Elementor or Beaver Builder to recreate layouts visually.
- Customize Before Migration: Configure headers, footers, and typography early so imported content fits seamlessly.
Step 4: Use the Right Migration Tool
Your migration method depends on your current platform. These tools simplify the process significantly:
- All-in-One WP Migration: Best for moving from one WordPress install to another. Exports everything—files, themes, plugins, and database—in one click.
- FG Joomla to WordPress: Ideal for migrating Joomla sites. It imports articles, categories, images, and metadata directly into WordPress.
- CMS2CMS: Supports migrations from multiple platforms (Wix, Drupal, Squarespace, etc.). It’s automated, cloud-based, and beginner-friendly.
- WP Migrate Lite (by Delicious Brains): Great for developers handling database migrations, especially when moving from staging to production.
Step 5: Import Content into WordPress
Once your migration tool is chosen, you’ll start bringing in your actual website content.
- Pages and Posts: Use the tool’s import function to transfer posts, pages, and custom post types.
- Media Files: Verify that all images and videos are correctly imported into the Media Library.
- Menus and Links: Rebuild navigation menus under Appearance → Menus to match your old site’s structure.
- Forms and Widgets: Recreate contact forms using plugins like WPForms or Contact Form 7. Widgets may need manual reconfiguration depending on your theme.
Step 6: Migrate SEO and Redirects
Keeping your SEO intact is crucial during migration. You want users and search engines to find your content at its new location.
- Install an SEO Plugin: Use Yoast SEO or Rank Math to migrate titles, meta descriptions, and schema data.
- Set Up 301 Redirects: Use a plugin like Redirection or Yoast Premium to redirect old URLs to their new WordPress equivalents.
- Submit Updated Sitemap: Generate a new sitemap in your SEO plugin and submit it to Google Search Console to reindex your new site.
Step 7: Test and Optimize Your WordPress Site
Before going live, perform thorough testing to ensure everything functions perfectly.
- Check Links and Images: Use a plugin like Broken Link Checker to find any missing or broken links.
- Test Forms, Menus, and Logins: Make sure all interactive elements work correctly.
- Optimize Performance: Install caching and optimization plugins like WP Rocket or LiteSpeed Cache. Compress images using Smush or ShortPixel.
- Review Mobile Responsiveness: Test your new WordPress site on different devices and browsers to ensure consistent user experience.
Step 8: Go Live and Monitor
Once you’re confident everything works, it’s time to make your new site public.
- Update DNS Settings: Point your domain to your new hosting provider’s nameservers.
- Set Maintenance Mode Off: Disable any “Coming Soon” plugins once the new site is live.
- Monitor Performance: Use tools like Google Analytics and Search Console to track traffic, performance, and indexing post-launch.
- Backup Regularly: Set up automated backups using UpdraftPlus or BlogVault to safeguard your site.
Migrating a website to WordPress doesn’t have to be overwhelming. With the right preparation, tools, and testing, you can ensure a seamless transition with zero data loss and maximum SEO preservation.
A properly migrated WordPress site gives you the power to manage your content easily, scale with your audience, and take full control of your online presence.